Products
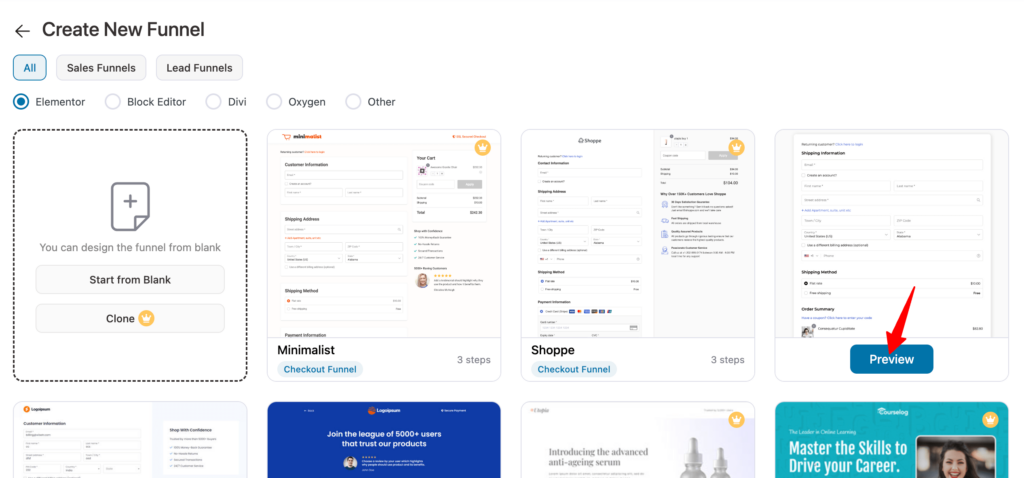
Funnel Builder
Build profitable funnels using conversion-friendly templates, analyse performance.
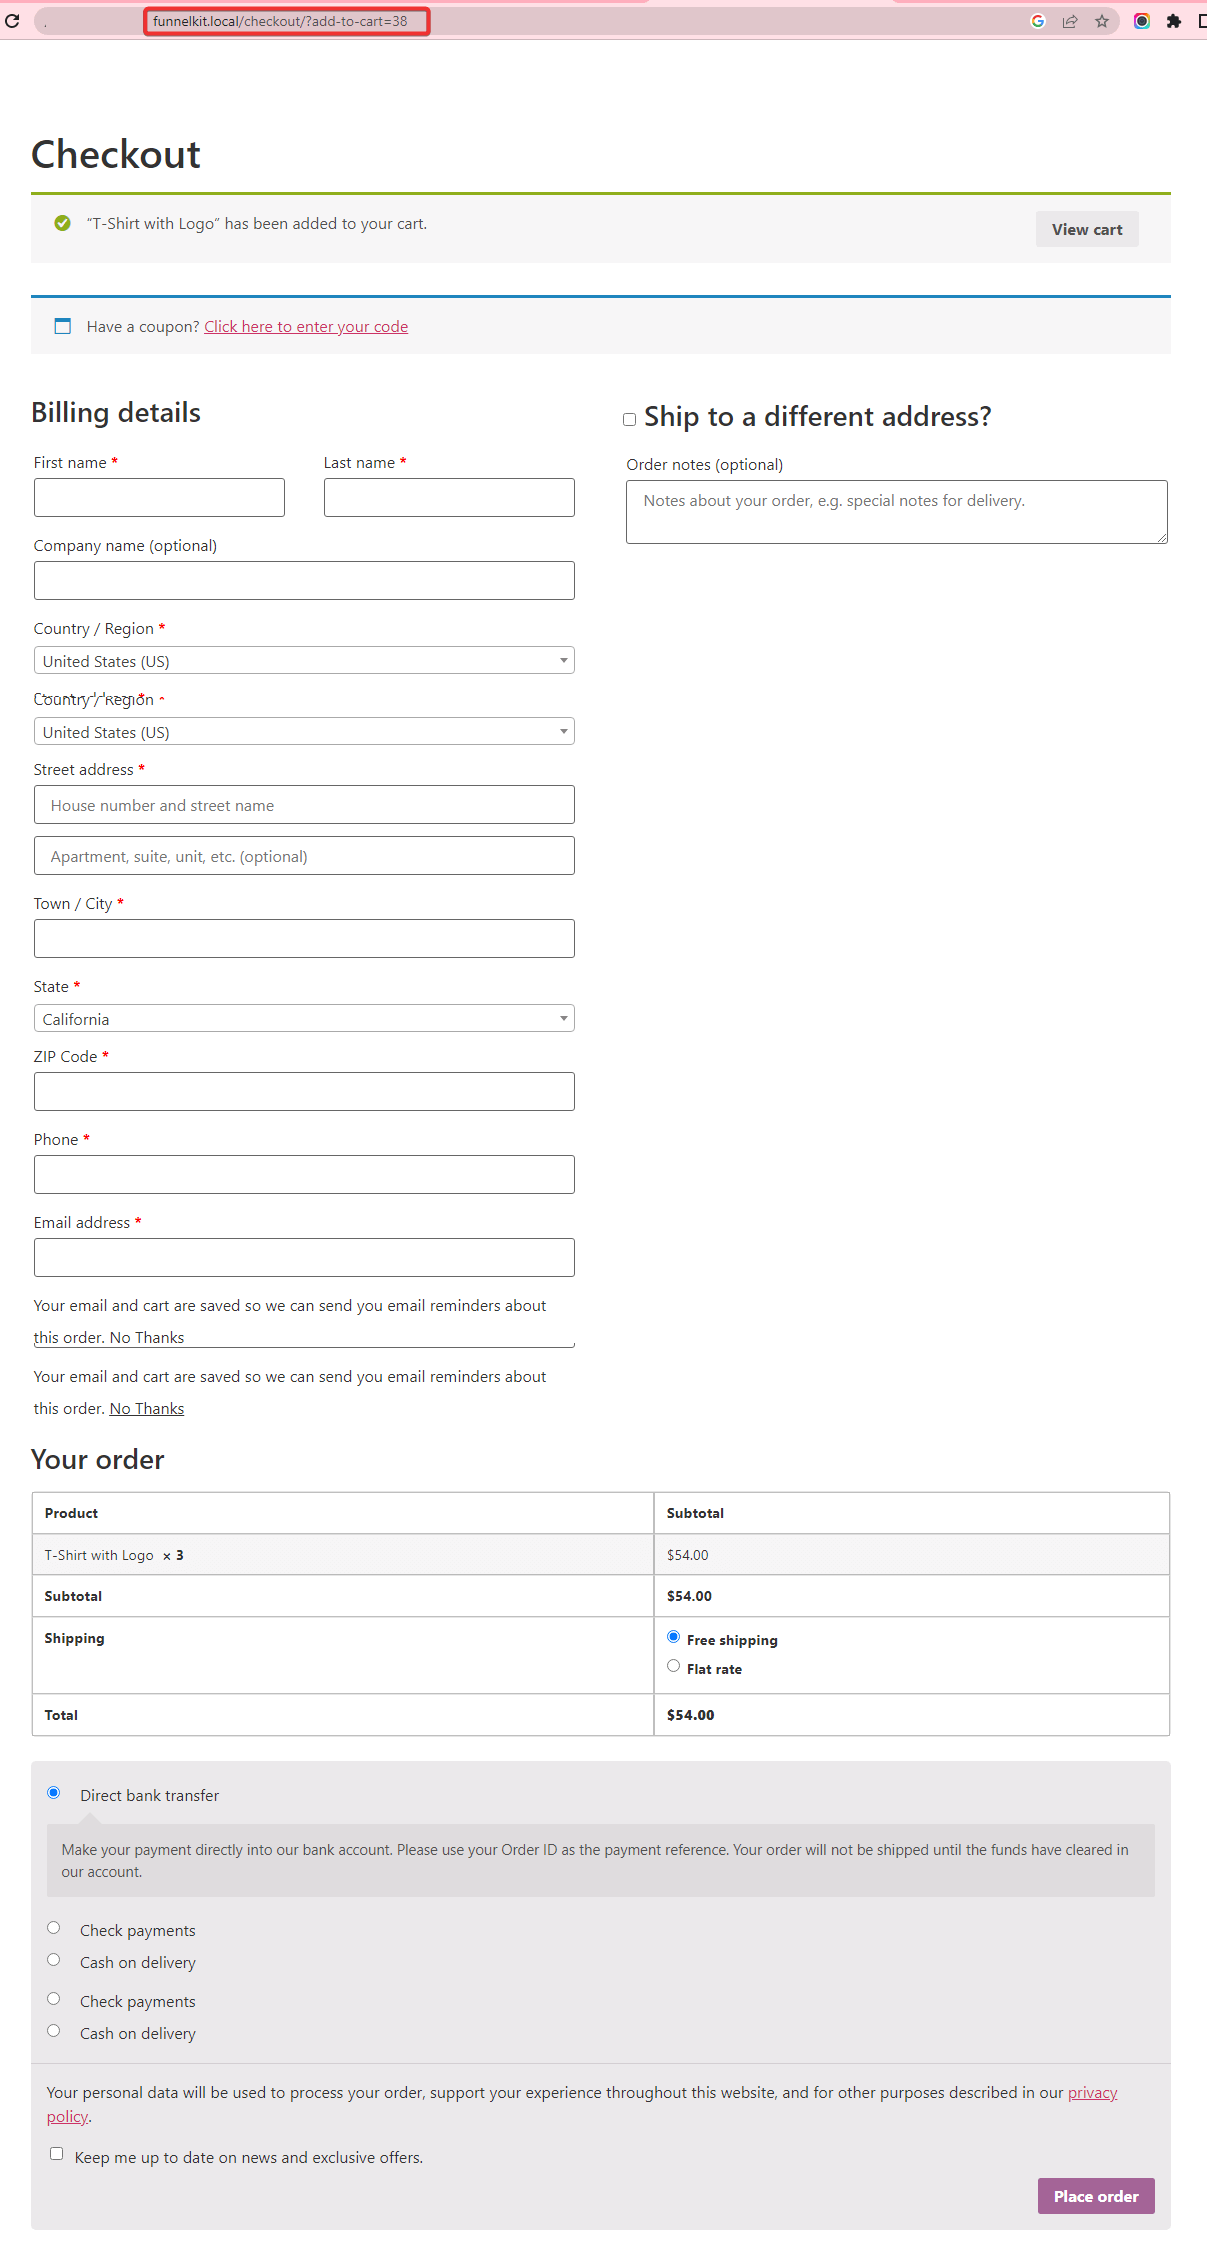
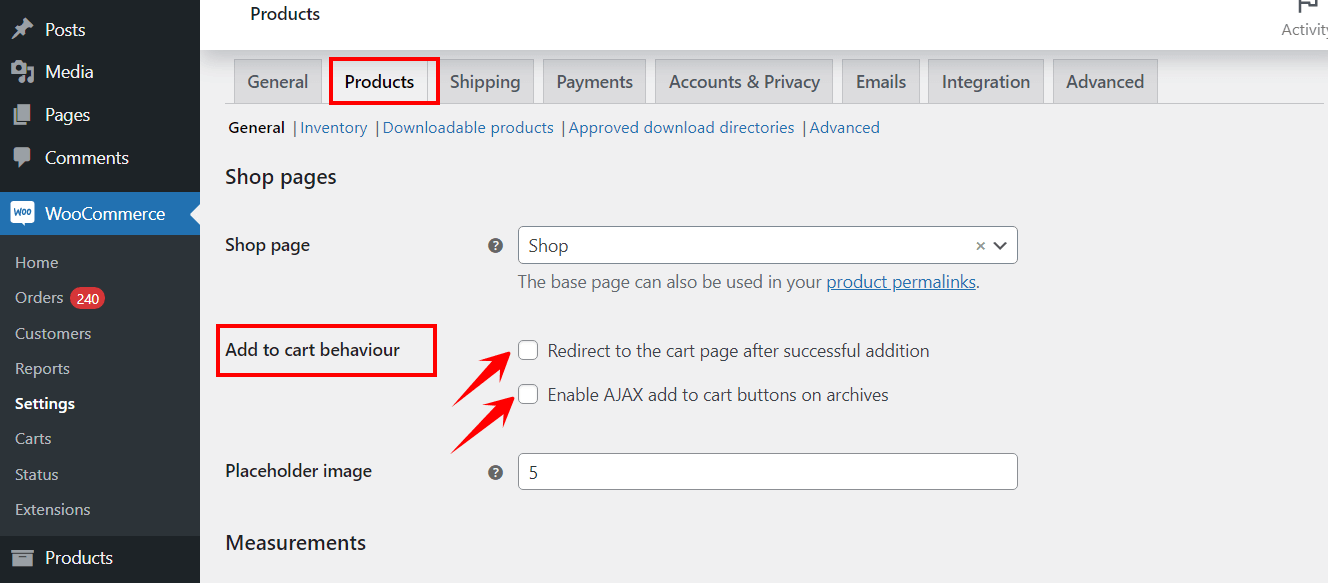
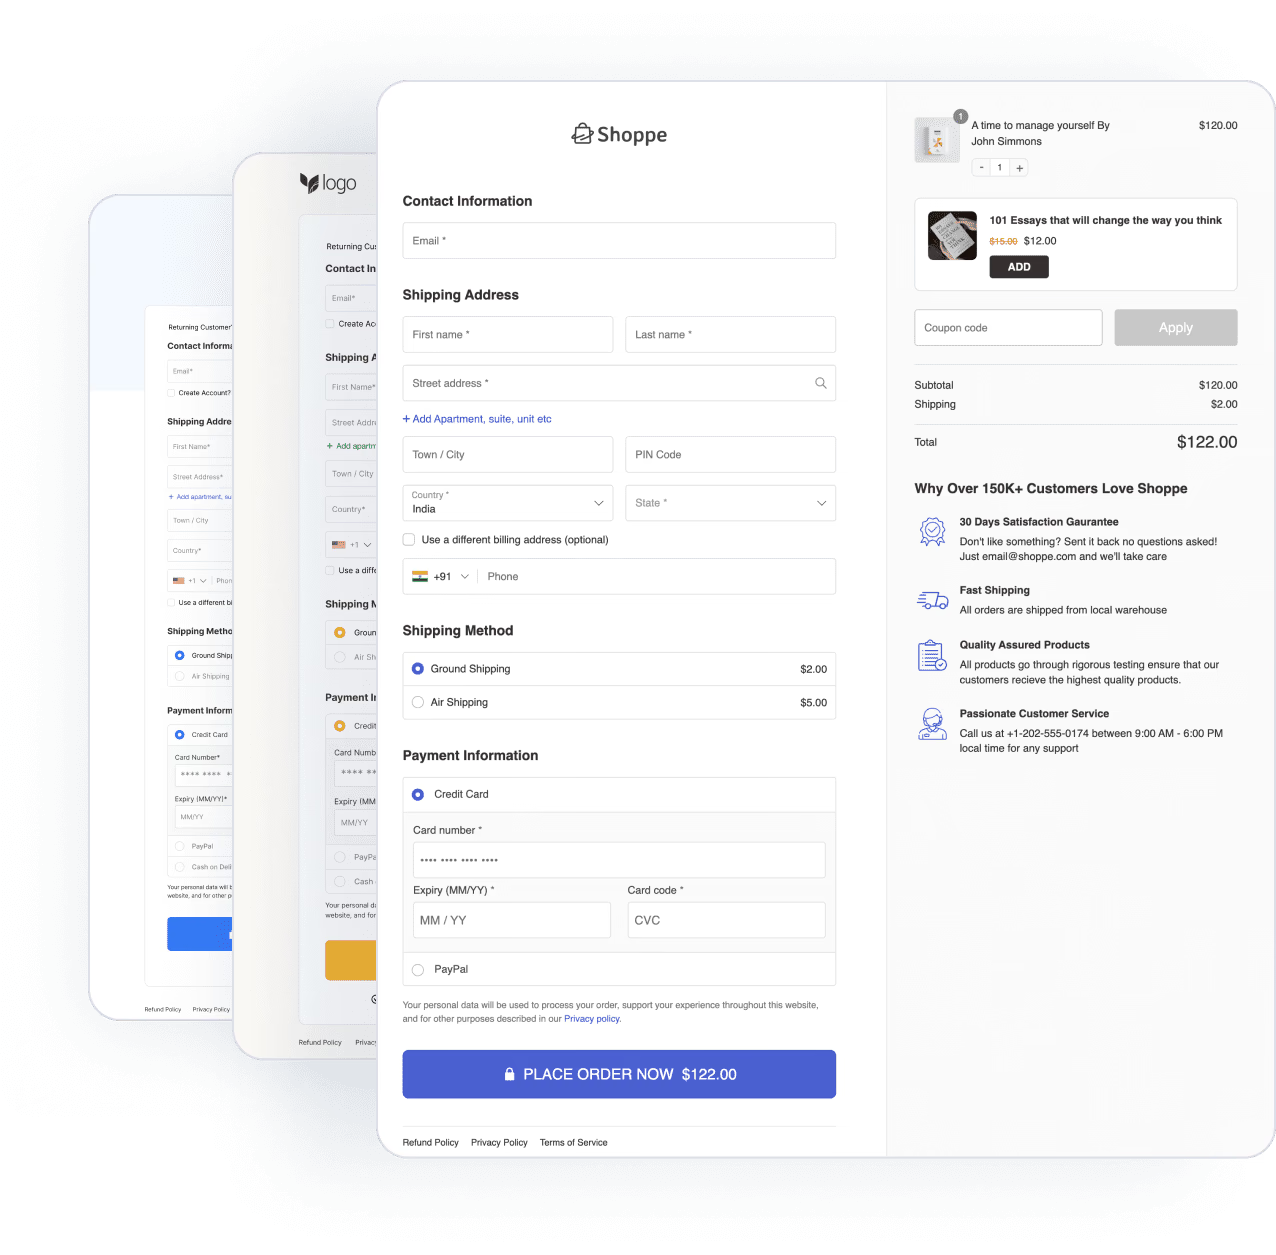
Optimized WooCommerce Checkout
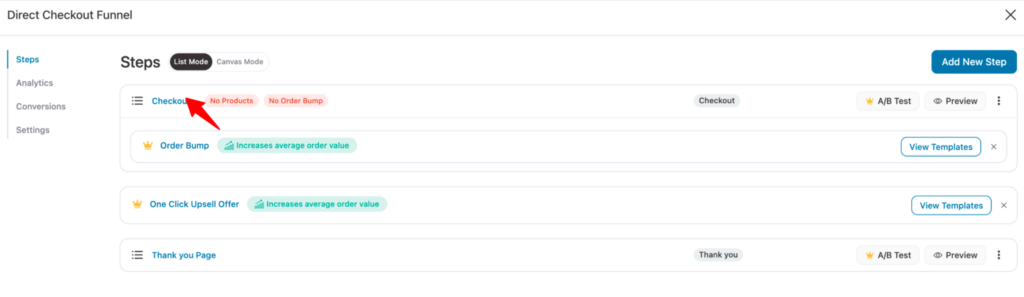
One Click Upsells
Order Bumps
A/B Testing
Lead Generations
Analytics
Marketing Automations
Create broadcast and automated campaigns without leaving WordPress.
Email & SMS Marketing
Rich Contact Profiles
Workflow and Integrations
Segmented Broadcast
Revenue Tracking
Transactional Email
Sliding Cart
Meet FunnelKit's dynamic side cart—no more redundant pages!
Boost Profits with Funnels & Automations
Over 890+ 5 star reviews show that FunnelKit users trust our top-rated support for their online business.
Pricing
Templates
Resources
Testimonials
Support


Leave a Reply
You must be logged in to post a comment.